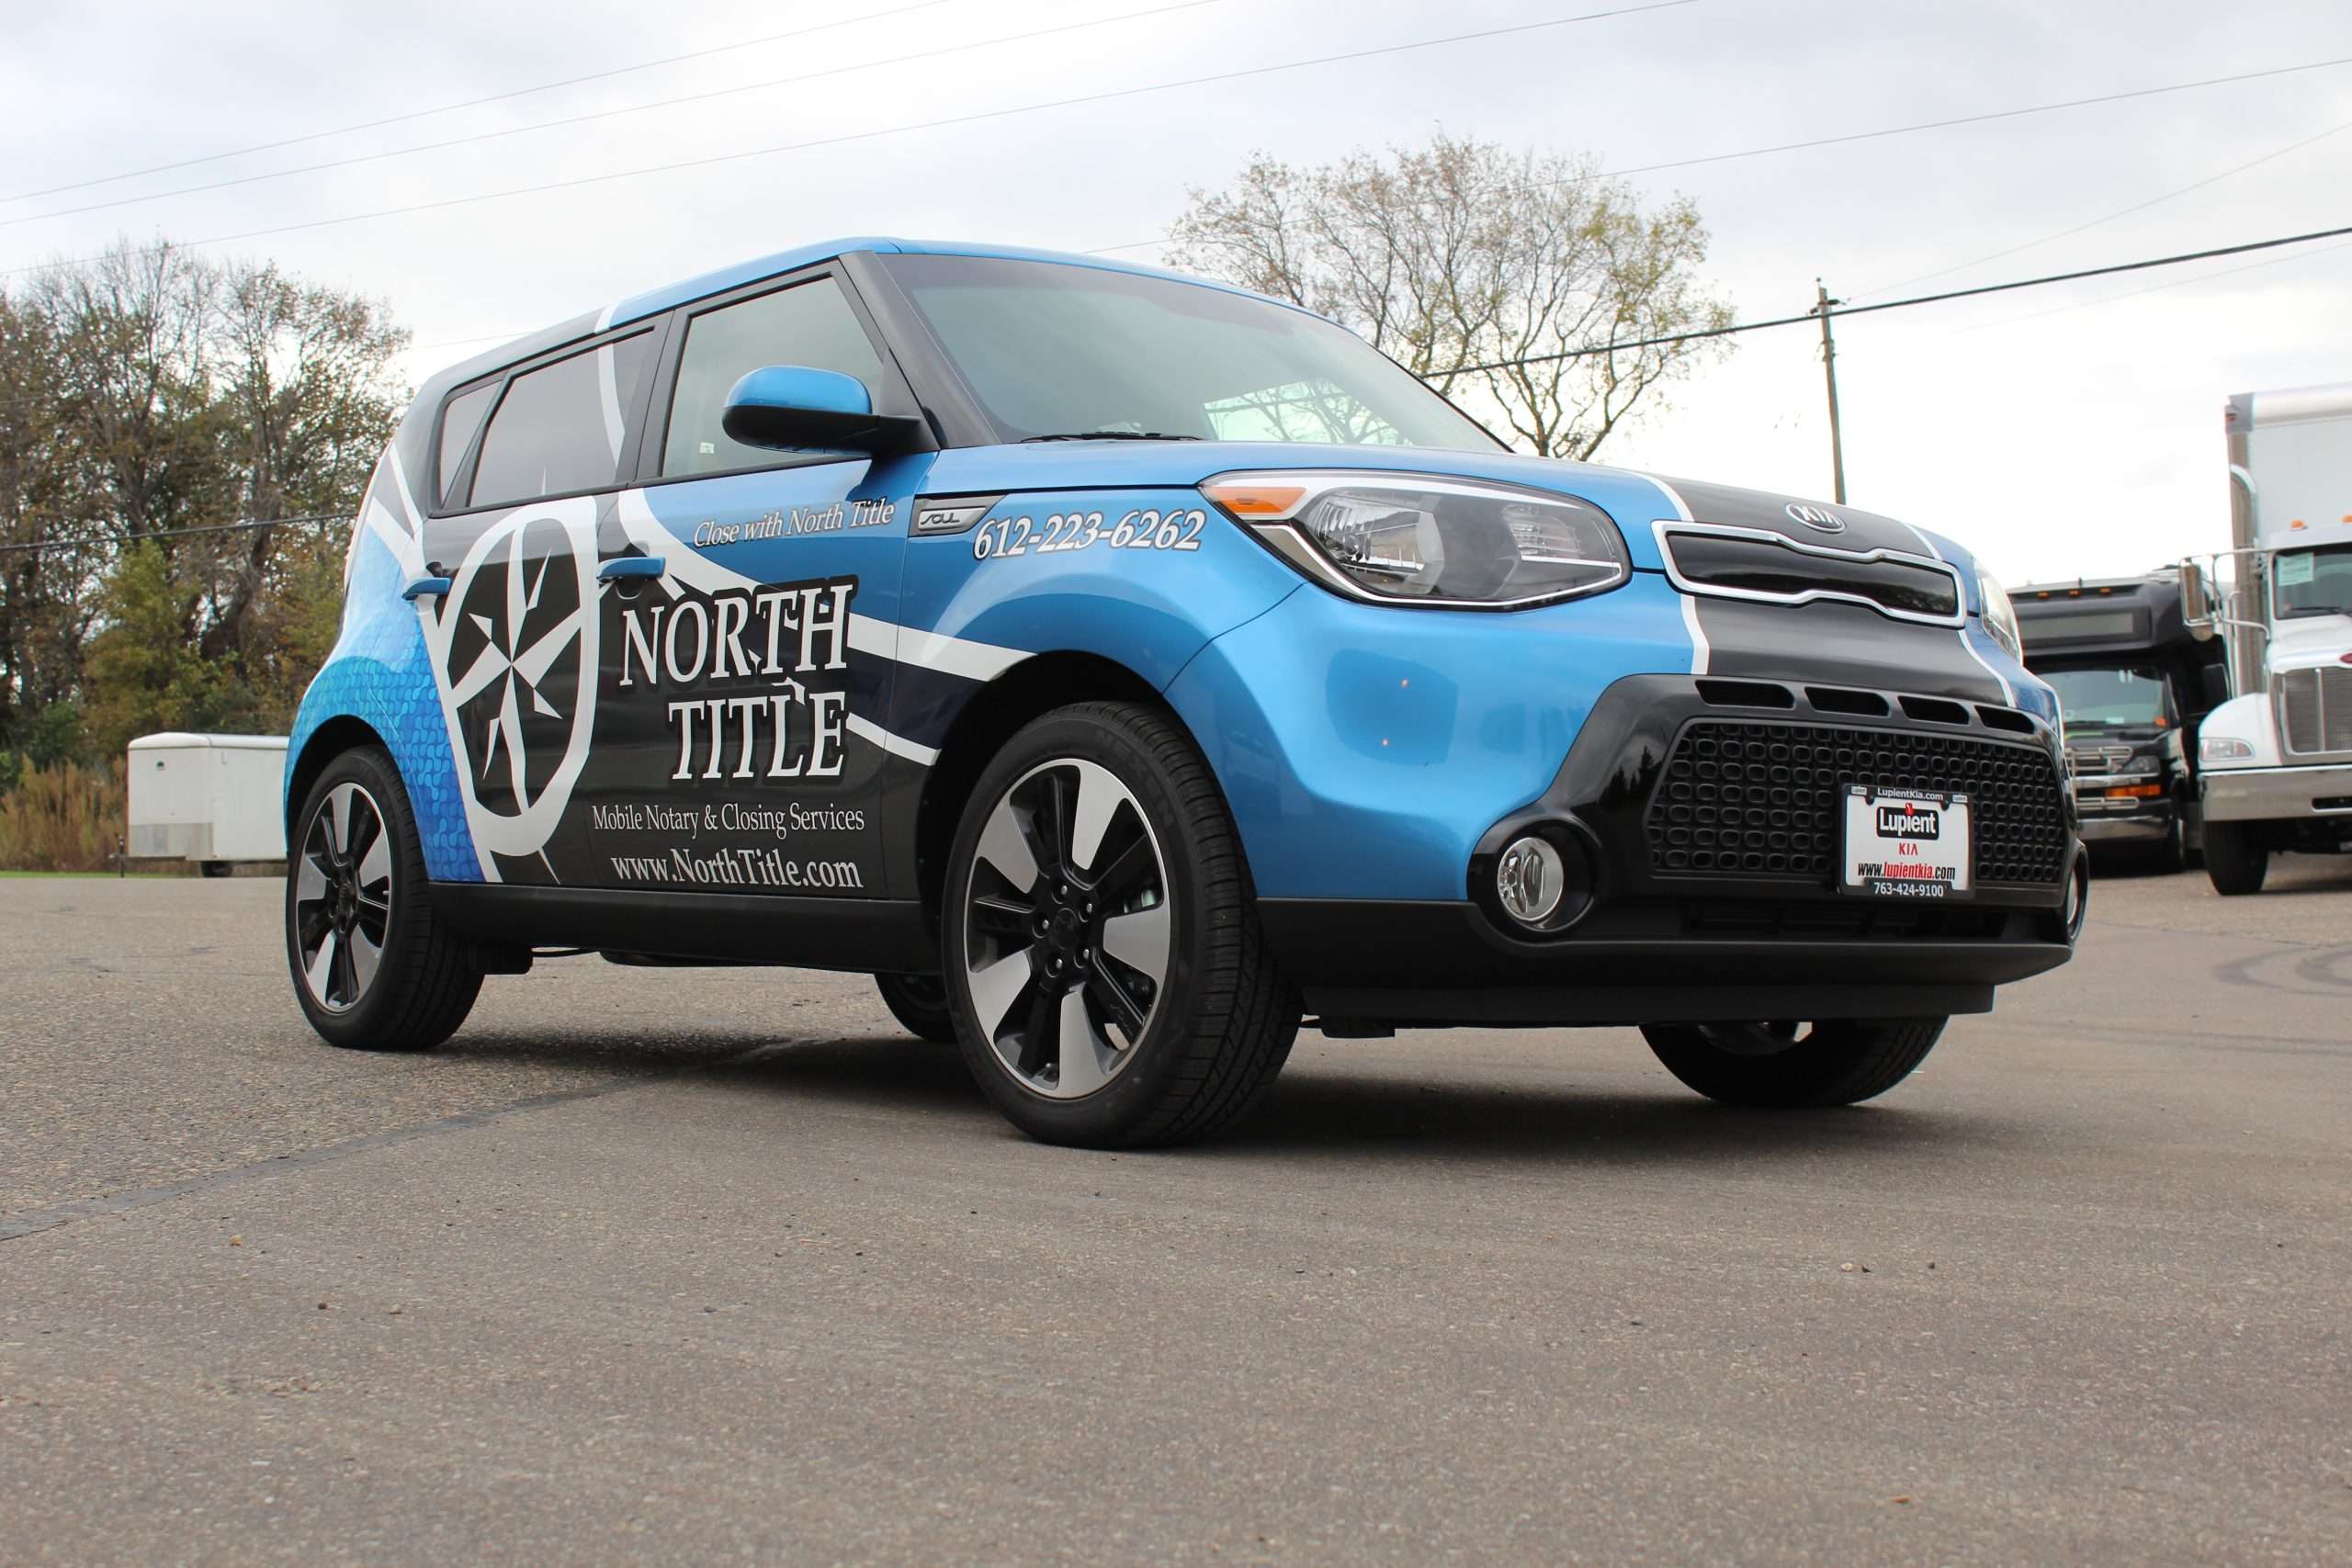
Vehicle wraps can completely transform the appearance of any car, truck, or van. But achieving that sharp, professional look requires more than just a good design—it depends on expert installation and removal. From the moment the vinyl is unrolled to the final peel years later, professional services ensure that every step is executed with care, precision, and attention to detail.
Both installation and removal involve more than just applying or stripping away vinyl. These processes require specialized tools, technical knowledge, and a clear understanding of materials used and vehicle surfaces. When done correctly, a professional installation results in a smooth, seamless wrap that looks great and lasts. Likewise, skilled wrap removal ensures the original paint remains intact without adhesive residue or damage.
Choosing experts for vehicle wrap installation and removal offers peace of mind. Each phase—from surface prep to alignment and finishing—requires accuracy to prevent common issues like bubbles, creases, or premature wear. With the right team and materials, you get a clean finish that enhances your vehicle while protecting its value.
The Importance of Professional Installation
Professional installation is critical to the performance and longevity of a vehicle wrap. It begins with deep surface cleaning and inspection to eliminate any contaminants that might compromise adhesion. Even minor imperfections can impact the final result, so this preparation step is essential.
Once the surface is ready, trained technicians use advanced techniques to apply the vinyl. This includes proper stretching, alignment, and heating to fit every curve and edge. These methods help ensure the wrap stays tight and uniform over time, with no bubbling or peeling.
A professional installation also includes quality checks throughout the process. From panel alignment to edge sealing, every detail matters. Without this level of precision, wraps are more likely to fail early or cause damage to the vehicle. Skilled application makes all the difference in durability and overall appearance.
Step-by-Step Installation Process
The vehicle wrap installation process starts with a clean slate—literally. Removing dust, oils, wax, and debris is the first step toward proper adhesion. This phase often includes surface testing to ensure compatibility between the vinyl and the vehicle’s paint or coating.
Next, the wrap is aligned and applied in panels, using heat and pressure to contour around body lines, curves, and edges. Each section is smoothed carefully to eliminate air pockets and tension lines. The use of heat guns and squeegees ensures that the vinyl molds precisely to the surface, forming a clean and professional finish.
After installation, technicians perform a final inspection to confirm the wrap is free of flaws. Edges are sealed, corners are tucked, and adhesion is checked. These final steps extend the life of the wrap and ensure it performs well under daily use.
Important Facts About Vehicle Wrap Installation and RemovalVehicle wraps can transform any car into a mobile billboard or a work of art. Professional installation and removal are essential for achieving the best results. Here are some important facts to keep in mind:
|
Understanding Wrap Removal
Wrap removal is a key part of the overall installation and removal process, and it should never be rushed. Done correctly, it protects the vehicle’s original paint and restores the surface without damage. Professional services like wrap removal use the right heat, pressure, and tools to safely lift materials without leaving adhesive residue behind.
Improper removal can cause peeling paint, scratches, or lasting marks—especially on older or repainted vehicles. By choosing a team trained in vehicle wrap removal, you reduce the risk of surface damage and help preserve the value of the vehicle.
Wrap removal challenges vary depending on the age of the wrap, exposure to the elements, and how the original install was done. Experienced professionals understand how to approach each situation, whether working on cars, trucks, or full fleets. Their precision ensures the process is clean, controlled, and efficient.
Tools and Techniques for Effective Wrap Removal
Effective wrap removal depends on the right combination of tools, techniques, and experience. Professionals use specialized equipment—such as heat guns, adhesive removers, and precision tools—to safely detach wraps without harming the vehicle’s paint. These methods are designed to maintain surface integrity while speeding up the process.
Proper handling of these tools is key. Experienced technicians understand how to apply the correct amount of heat, pressure, and angle to release the wrap cleanly. This level of control reduces the risk of scratches or leftover residue. The use of professional-grade tools and materials helps ensure a clean, damage-free outcome that leaves the vehicle ready for its next stage.
These techniques are especially important for vehicles that have been wrapped for several years or exposed to extreme conditions. By combining careful method with the right equipment, wrap removal becomes a safe and efficient part of the overall installation and removal process.
The Value of the 3M MCS Warranty for Installation and Removal
The 3M MCS Warranty (Matched Component System) guarantees that ink, film, and overlaminate work together to industry-tested performance standards. This assurance supports quality installation and safe wrap removal, providing confidence that materials have been tested as a system.
As a 3M MCS Warranty Certified provider, TG Wraps meets requirements for both installation and removal procedures. Certification indicates a commitment to precision installation, correct surface prep, and damage-free peel-off techniques. Certified professionals follow the protocols required to support warranty claims and protect your vehicle’s finish.
When a wrap is installed and removed in compliance with 3M guidelines, you benefit from consistent results and warranty protection. From the first stretch to the final peel, this system approach ensures your vehicle wrap looks great and performs reliably, even through removal.
Ensuring Quality Checks and Final Touches
Whether completing an installation or wrap removal, quality checks are a critical final step. These inspections help confirm that the work meets high standards and that no imperfections have been missed. Small issues—like air bubbles, loose edges, or leftover adhesive—can affect the overall appearance if not addressed.
Professional installation always includes a final walkthrough to ensure that every panel, corner, and curve looks clean and uniform. When needed, minor corrections are made on the spot. This level of attention to detail helps ensure the longevity of the wrap or the smoothness of the restored paint surface.
In some cases, finishing touches like surface treatments or edge sealing may be applied to boost durability. These steps help protect the results and reflect the overall commitment to quality. From full-color graphics to specialty applications, consistent checks and refinements help deliver a polished final product that holds up over time.
FAQs: Installation and Removal
Our FAQ section addresses common questions about vehicle wrap installation and removal. These insights help clarify why professional installation and wrap removal matter for quality, longevity, and appearance.
What is the typical duration for vehicle wrap installation?
Depending on the size of the vehicle and the complexity of the design, professional installation typically takes one to three days. This allows time for proper surface preparation, precise application, and quality checks.
How long does it take to remove a vehicle wrap?
Wrap removal usually takes a few hours to a full day, depending on the wrap’s age and condition. A skilled technician can safely complete the process while protecting the original paint. For more, visit our wrap removal page.
Can wraps damage the vehicle’s paint when removed?
Not when handled by professionals. Proper wrap removal involves the right tools and techniques to protect the factory paint and avoid adhesive residue or scratches.
Are there specific vehicles that are more challenging to wrap or unwrap?
Vehicles with deep curves, textured surfaces, or specialty attachments often require more attention. Experienced installers are equipped to manage these challenges without compromising the results.
What maintenance is required post-installation?
After installation, wraps should be cleaned regularly using non-abrasive products. Avoid power washers and harsh chemicals to protect the finish. Learn more about care on our graphics and maintenance page.
Why Installation and Removal Matter
Every stage of vehicle wrap installation and removal affects performance and appearance. Professional installation ensures the wrap fits properly and lasts longer. Wrap removal done incorrectly can lead to paint damage, adhesive residue, or wasted time.
Certified installers prepare surfaces carefully and apply wraps with precision. When it’s time for removal, they use safe methods to protect the underlying surface. These processes reinforce your investment and ensure your vehicle maintains its value and appeal.
From start to finish, experienced technicians manage every detail. Whether working on custom designs, trailers, or fleet graphics, quality checks and consistent execution are the standard. See how these techniques apply across projects on our trailers page.
Get the Most from Your Wrap
Vehicle wrap installation and removal are more than technical steps—they’re essential to making sure your brand looks its best. Every detail matters, from surface prep to final polish.
Choosing professionals for both installation and wrap removal protects your investment. It ensures the job is done right, whether you’re outfitting a single vehicle or an entire fleet. Explore the range of options, materials, and capabilities available.
When you’re ready to take the next step, trust a team with the experience and tools to deliver consistent results. Contact TG Wraps to schedule your wrap service or request a quote. Let expert hands handle the work—so your vehicle stands out for all the right reasons.